< < BACK TO CHAPTER IV – MAGICLANTERN RAW
IVA – CUSTOM CROPMARKS
MagicLantern’s first use when combined with anamorphic lenses was the design of custom cropmarks. These are drawings that are placed on top of the image that is being shot, which allow previewing a different frame format than the one that is actually being shot (for example, I can have black bars covering top and bottom of the frame in order to make it look more cinematic).
Since mixing stretch factors in the same video is a common thing (use a 1.33x stretch lens for some shots and a 1.5x or 2x stretch for others) we know that something is gonna be cropped off later (either top-bottom or left-right of the frame). From here, I created nine unique cropmarks that allow mixing any kind of lenses (from spherical to 2x) always showing what’s the core framing and what will be cropped.
4:3 cropmarks for 2x stretch lenses
File names look like some sort of code, but they make sense: the first value is the final aspect ratio, according to the lens stretch. 1.33x stretch results in 2.4:1, 1.5x equals 2.66:1 and the monstrous 2x goes as wide as 3.56:1. The second part of the file name is for the kind of lens being used. Let’s say my whole project was shot with 2x stretch and I’m going for the 3.56:1 aspect ratio. After principal photography is done, I have to shoot some extra footage using normal spherical lenses. In this case, I need to pick the “2x-norm” cropmark. This bunch of numbers is quite confusing, so the image sequence below tries to make it easier to see and understand.
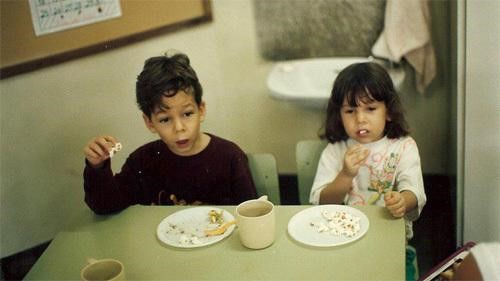
Standard framing on the camera’s LCD, shows everything that’s being shot.
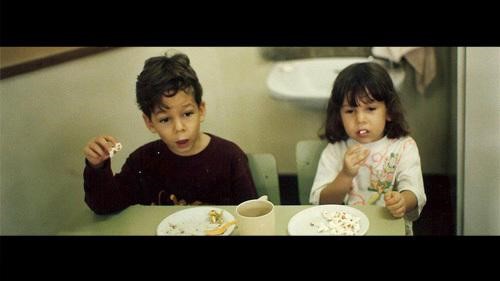
1.5x cropmark on top of the image so you can compose your shot.

Final framing, cropped during post-production.
Later on, cropmarks were extremely useful while setting up my raw recording window. As not everything that shows on the LCD is being recorded, I drew new cropmarks, specific to each project, allowing me to frame only what I’m shooting.
JANUARY 2015 – MagicLantern’s latest versions already have a box drawn around the capture area for raw recording. This was at the very release of this feature.
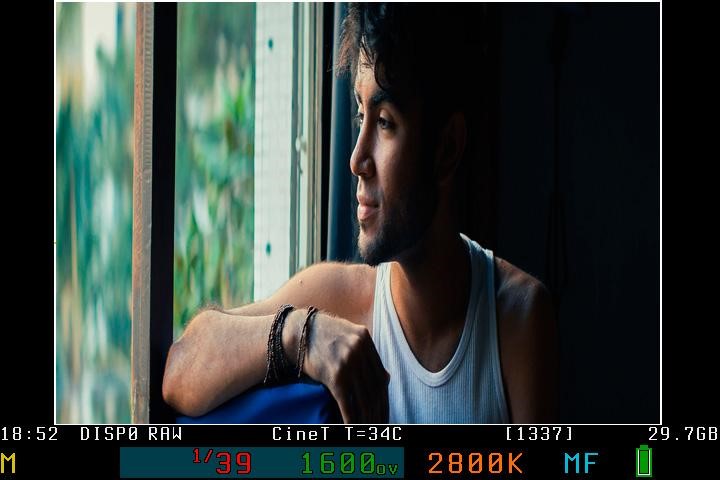
In October 2012, MagicLantern released a new alpha version for the Canon 5D Mark III, adding a series of new features, among which we can find a fix for better previewing anamorphic lenses through an automatic “squeeze” of the LiveView image in order to display the corrected aspect ratio based on the lens stretch factor. This feature provides great results but eats a lot of processing power from the camera. Its only flaw is the fact that it doesn’t work when you’re reviewing your clips in Play Mode. Developers informed me that messing around with Play Mode is quite complex and risky.

Camera’s LCD with the Anamorphic feature turned on.
[…] ‹ Anamorphic on a Budget – Chapter IVA • Anamorphic on a Budget – Chapter VA › […]
[…] ‹ Ah, Mas Como Senti Falta Desse Calor. • Anamorphic on a Budget – Chapter IVA › […]